The mental load · July 25, 2026 · 8 min read
Family Command Center Ideas That Fit Your Real Life
Use these family command center ideas to plan a wall that fits your space, with a free layout map and weekly reset sheet.
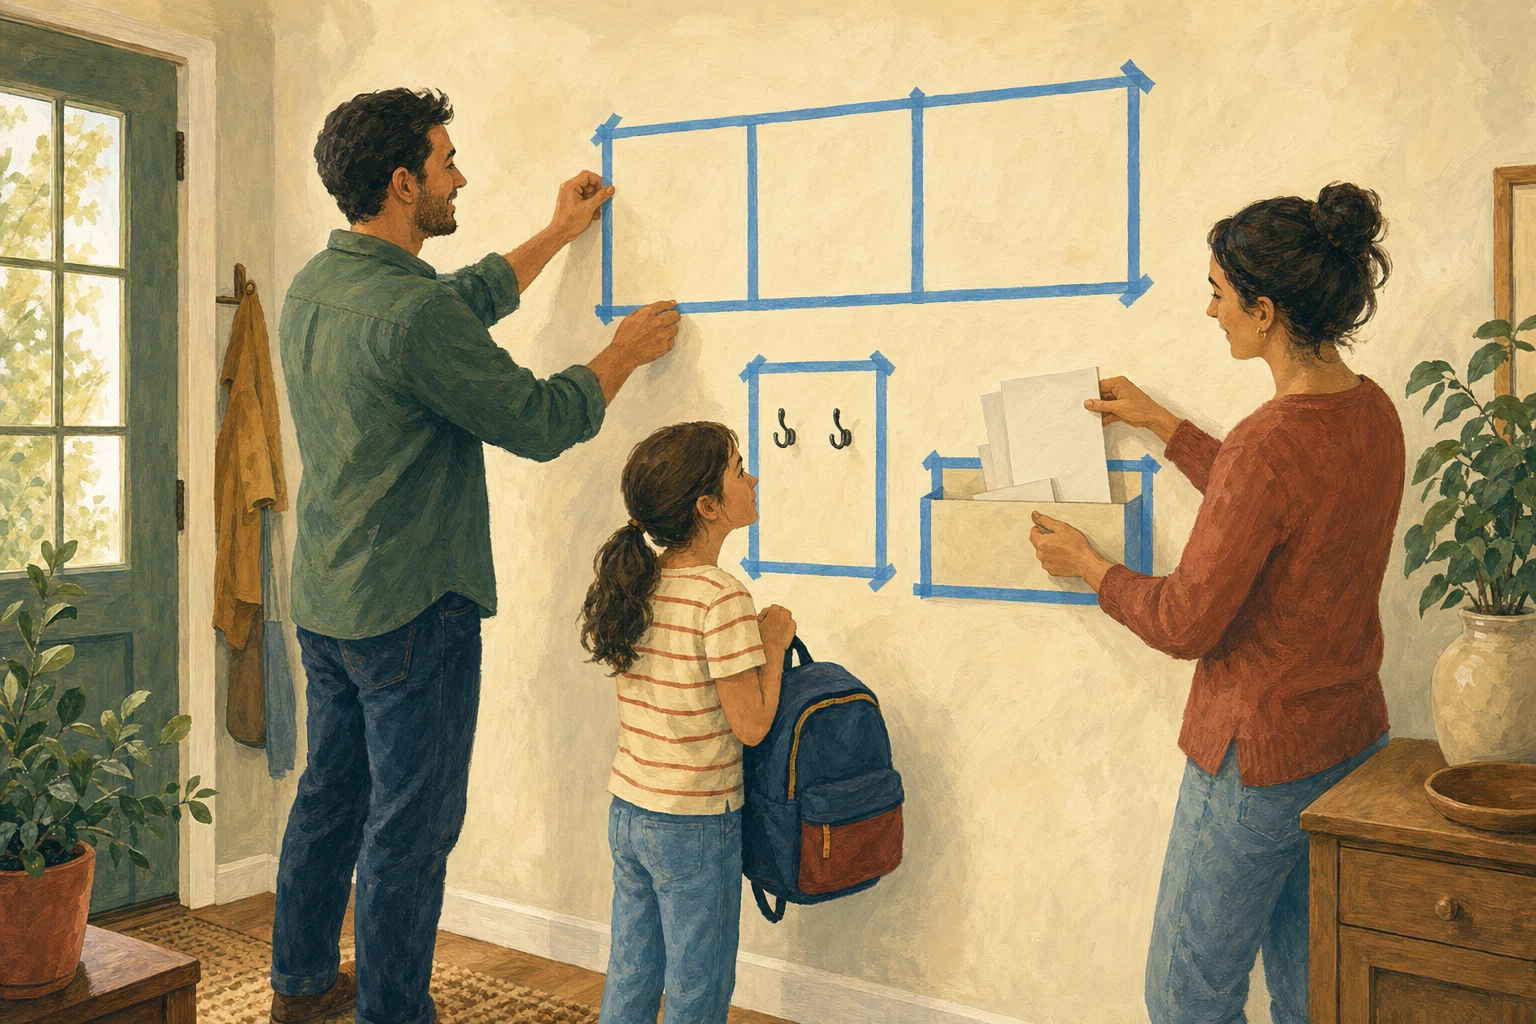
A family command center can look finished in a photo and still fail from six feet away. The calendar is too small to read from the doorway. The school-paper pocket sits behind the backpacks. A hook is placed where the closet door hits it.
Test the wall before you choose the pieces. Stand where people naturally pause. Mark the proposed shapes with painter's tape, then carry one ordinary arrival through the space. The useful family command center ideas are the ones that fit your wall and the path your household already walks.
Start with the route, not the shopping list
Walk from the door to the usual landing place for bags and paper. If your household uses several entrances, choose the one involved in the most weekday handoffs. A kitchen wall can work too, but the route should still be easy enough that paper reaches it without a special trip.
Now notice three moments.
First, what does someone need to see without opening a drawer or asking another person? That may be a short view of the current week. It could also be one pickup change or a note that has to leave tomorrow.
Next, what needs a landing place when it enters the house? Give current paper a pocket, not a pile. Give a repeat object an exact spot only when the wall is already on its path. That might be keys or library books.
Finally, what needs to leave again? A backpack hook at a child-reachable height may be more useful than another board at adult eye level. Keep it clear of door swings and walkways, and use mounting rated for the wall surface and the bag's loaded weight. An outgoing pocket can hold the one form or envelope that is ready to go, while unresolved paper waits somewhere else.
This doesn't require four matching organizers. The wall you already have may need only a hook, one pocket, and a small writing surface. Add a component only when you can name the handoff it serves.
Five family command center layouts for real spaces
The same household jobs can fit several footprints. Choose the shape before you choose the materials.
1. The narrow entry strip
Use a vertical strip when you have a slim wall beside a door. Put the at-a-glance item near adult eye level. A paper pocket can sit below it, with a hook or small leaving spot lower down. This arrangement works best when objects move up and down the wall instead of spreading across a crowded hallway.
Keep the depth shallow enough that people and bags can pass. Open the nearby door all the way during the tape test.
2. The bench wall
A bench already creates a pause, so use the wall above it for seeing and landing. Hooks can sit beside the bench or at a reachable height. Shoes and bulky bags can stay below instead of turning the wall itself into storage.
Leave enough clear space to sit. A command center that covers every inch above a bench can make the bench harder to use.
3. The cabinet-side command center
The side of a tall cabinet or pantry can carry one small weekly view and a paper pocket without claiming a whole room. This is useful when the kitchen is the household's shared path and the entryway has no open wall.
Measure the cabinet side and test how doors and drawers move. Check lease rules before mounting anything. Follow the product's surface and load instructions rather than assuming a removable option is safe for that cabinet.
4. The wide kitchen wall
A wider wall can separate the at-a-glance plan from physical arrivals. Keep the current week together on one side. Put incoming and outgoing paper on the side closest to the route. Small repeat objects can share that area when they truly belong there.
Resist filling the entire width on day one. Empty wall between functions makes it easier to tell where something belongs.
5. The split-height wall
Adults and children don't have to use the same height. Put the information adults maintain where they can write on it comfortably. Place each child's everyday hook or return spot where that child can reach it.
The split should match the people who live there, not an ideal photograph. Tape each proposed item at its real height and ask the person who will use it to try the motion.
Decide what deserves wall space
A physical wall is strongest at stable, visible jobs. It is weak at holding every changing detail in a family's schedule.
Use the wall for items such as:
- a short view of what matters today or this week
- current paper that needs a decision, signature, or return
- one outgoing spot for paper or objects that leave soon
- repeat items that already pass this exact wall
- a pen or marker, if the writing surface needs one
Keep archives and old artwork somewhere else. Reference packets and completed forms also leave this wall. If a paper no longer needs attention, it should leave the command center during the reset.
If a reference packet only needs a stable home, use the family emergency binder printable to record its location without putting the packet itself on the wall.
Give recurring paper a route before it arrives. A school form may go to “Needs action,” then move to “Ready to leave,” then leave the wall. Mail that needs no action should never enter those pockets. A child's artwork can have its own display or memory box instead of competing with current household information.
Owners matter too. The person who notices a full pocket isn't automatically the person responsible for every paper inside it. On the wall map, write who clears each area and where unresolved items go.
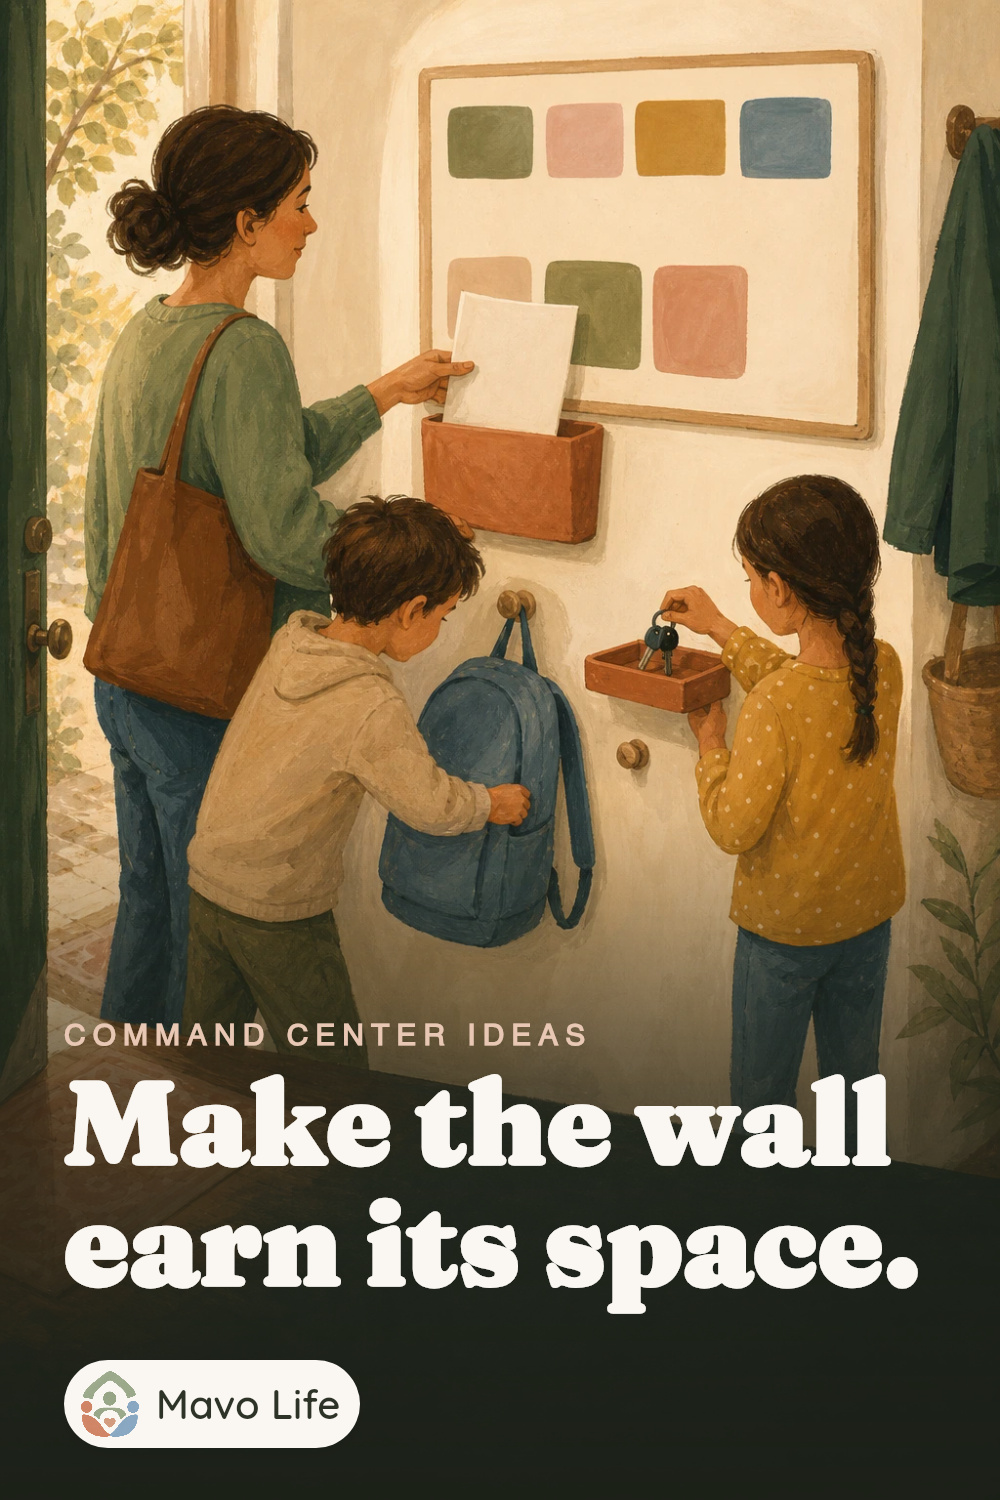

Download the wall-layout map and weekly reset sheet
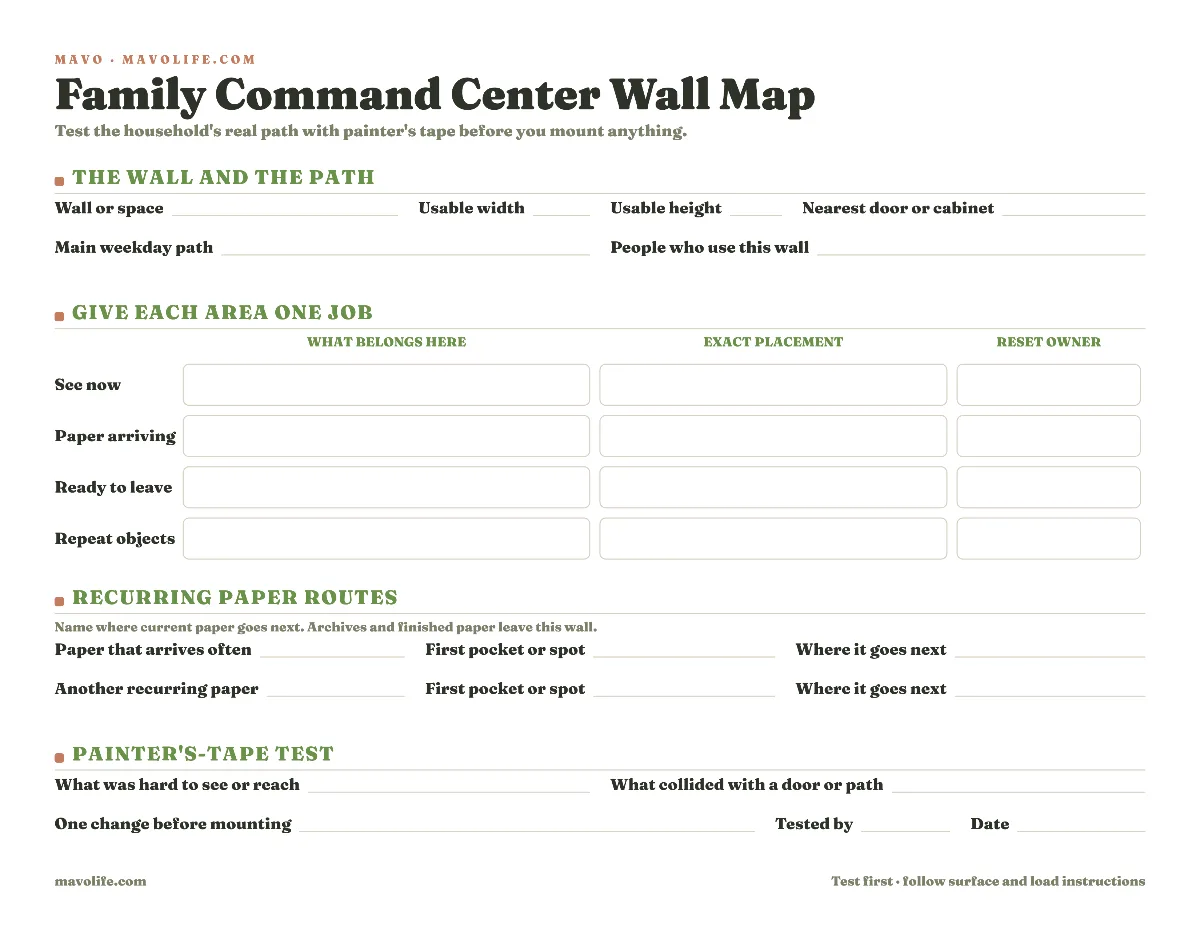
Download the fillable command center wall-layout map (PDF)
Use the landscape map while the wall is still blank. Record its usable size and nearby door, then describe the main path. Give each proposed area a job and exact placement. Add the person who will reset it. The bottom block records what you learned after standing back and opening nearby doors. It also captures what happened when you carried one real arrival through the taped layout.
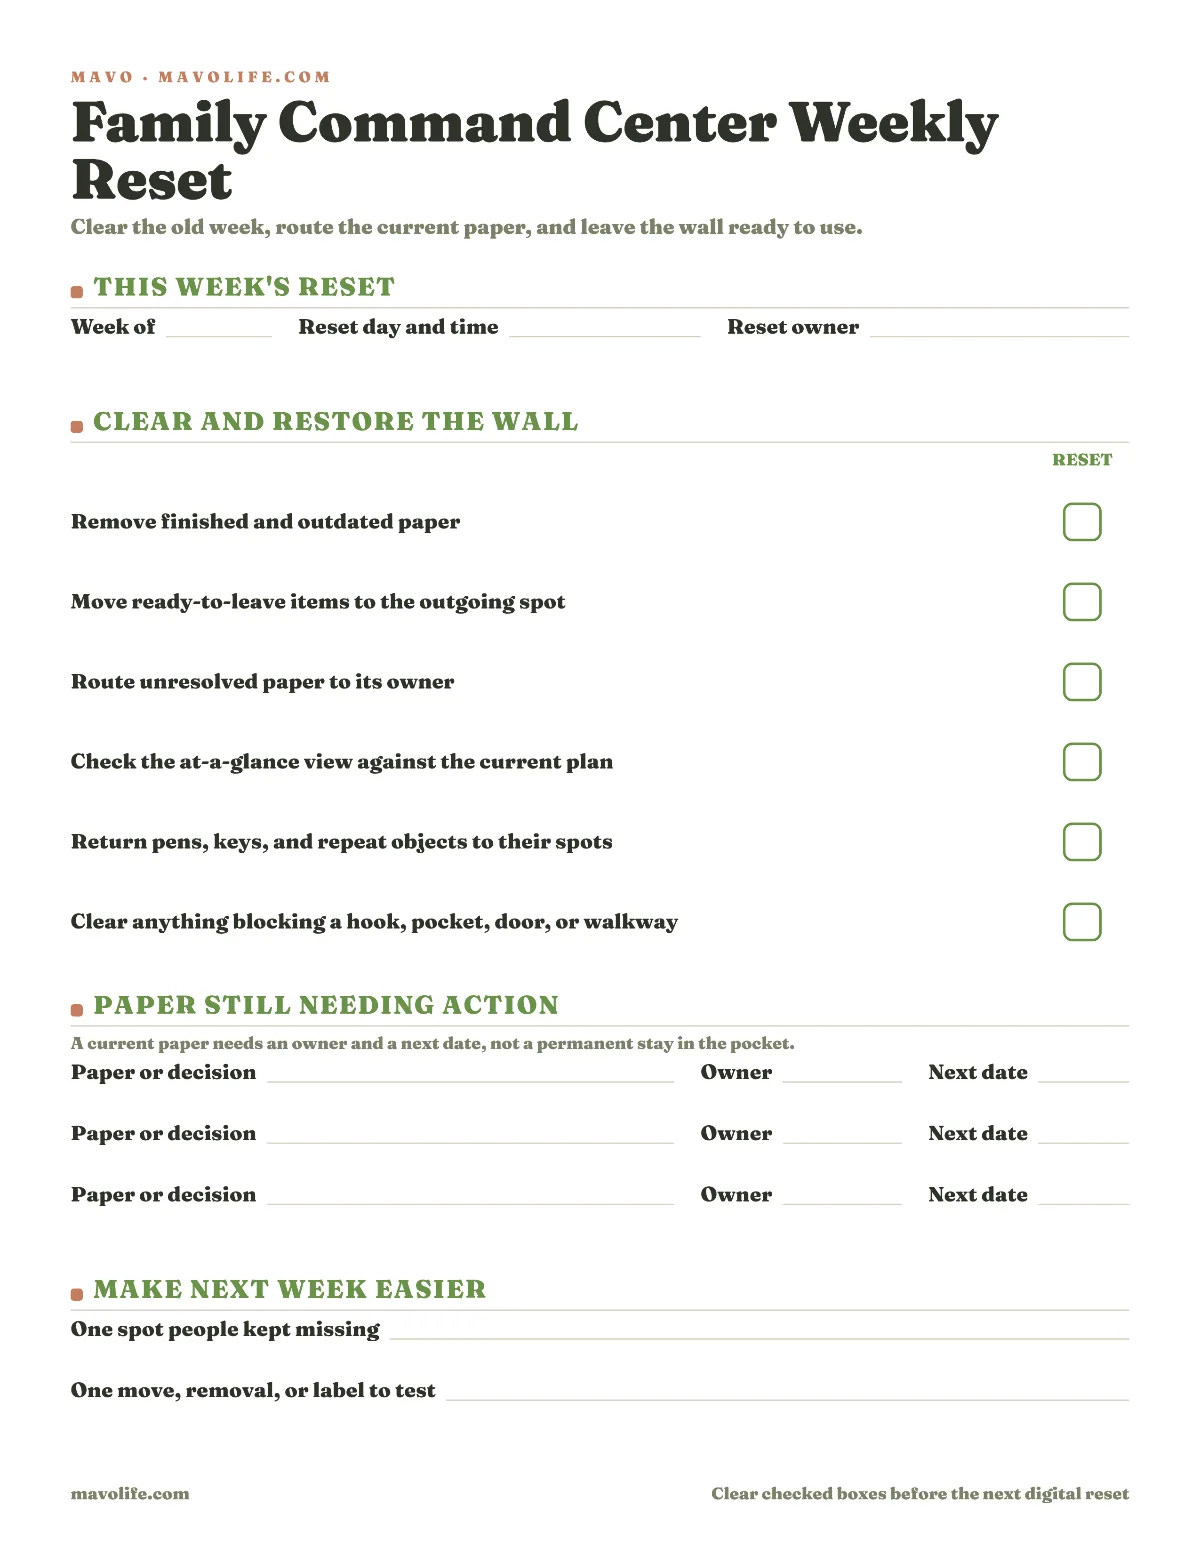
Download the fillable command center weekly reset sheet (PDF)
Post the reset sheet beside the command center or keep it in a nearby drawer. Fill it on screen or print a fresh copy each week. Pencil and a dry-erase sleeve also work. If you check the boxes digitally, clear them before the next reset.
No account is required for either file.
Test the layout before you mount it
Before taping the layout, test the tape on a hidden part of the surface. Follow the tape maker's surface and time limits, and check lease rules where they apply. Painter's tape can still mark some finishes when it stays up too long.
Put tape around the proposed at-a-glance view and paper pockets. Mark hooks and trays too. Use the real dimensions when you know them. If you haven't chosen a product, tape a reasonable maximum size rather than a tiny placeholder. When the layout is ready, use hardware or adhesive rated for the actual surface and loaded weight.
Then run four ordinary tests:
- Stand back. Can the person who needs the at-a-glance information see it from the place they naturally pause?
- Open everything. Swing the door and cabinet through their full paths. Check the closet and nearby drawers too.
- Carry an arrival. Walk in with a bag and one paper. Put both away without rearranging what is already in your hands.
- Leave with something. Take the outgoing paper or repeat object from its proposed spot and head toward the door.
Move the tape when a motion feels awkward. That small revision is cheaper than adapting the household to a hook that landed eight inches too high.
If the whole layout feels crowded, remove a function before shrinking every component. An inspiration gallery may show meals, chores, school dates, mail, devices, keys, bags, and family photos together. Your wall doesn't need to.
Keep changing details in the shared plan
The wall and the digital plan can do different jobs.
Keep the detailed calendar where full event information and ownership can stay current. If your family uses Mavo, a shared calendar can hold those details and show which adult is handling each event. The command center can carry only the small at-a-glance view that is useful in the room.
That separation avoids copying every detail onto a wall calendar. It also keeps the physical setup useful for paper and belongings that a digital calendar can't hold.
If school dates arrive in several formats, the school-calendar guide shows how to move them into one family plan. A weekly family meeting can handle the open decisions and assignments that should not live indefinitely in a paper pocket.
Mavo doesn't read the physical wall or move paper. It also doesn't replace a school or organizer's current source. The person handling an event still checks the original details when they change.
Reset the wall once a week
Choose a reset time that already has a natural pause around it. The reset owner clears finished paper and moves outgoing items to the right spot. They check the at-a-glance view against the current shared plan, then return the pen or other small tools.
Anything unresolved needs a next place. Write the owner and decision date on the reset sheet. You can also bring the item to the next family conversation or move it into the household's normal task system. Do not let “Needs action” become the permanent home for decisions no one has claimed.
The reset also reveals whether the layout is doing too much. If a pocket is always full, split one clear paper route or move archives elsewhere. If a hook stays empty, give that space back. If everyone keeps putting keys on the table, the key tray probably belongs closer to the table.
For the first week, mount nothing permanent. Put one piece of tape where the at-a-glance view should start, then walk through the door with tomorrow's real bag and paper.